В этой статье Вы узнаете о том, как развернуть и настроить свой proxy сервер на основе популярного продукта Squid, в облачном сервисе Microsoft Azure. Мы с нуля развернём виртуальную машину под управлением CentOS, установим все необходимые программы и настроим, и запустим наш Proxy Server под управлением Squid. А также настроим аутентификацию. Если у вас уже есть VM в Azure, то можете переходить в раздел Обновление и установка Squid.
Создание VM
Заходим на стартовую страницу портала Azure и создаём новый ресурс нажав на Create a resource.

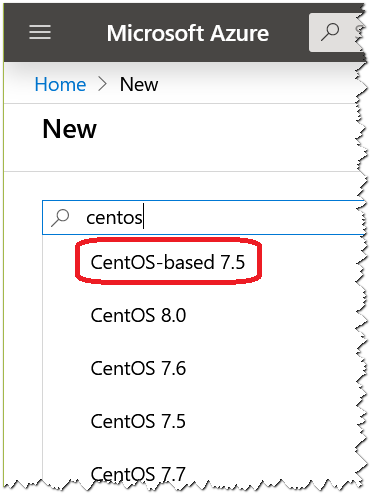
В строке поиска вводим centos и выбираем Centos-based 7.5.
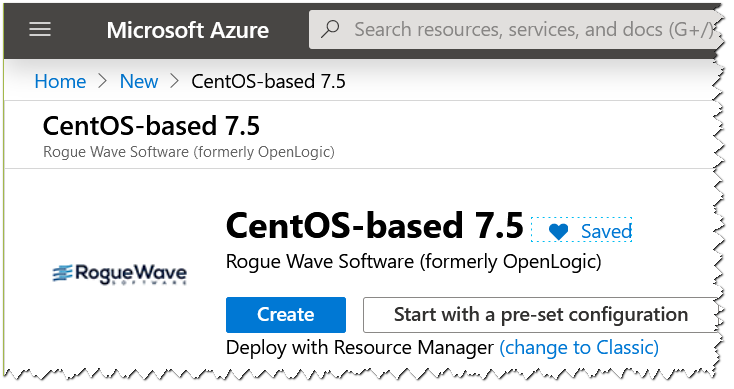
Нажимаем Create
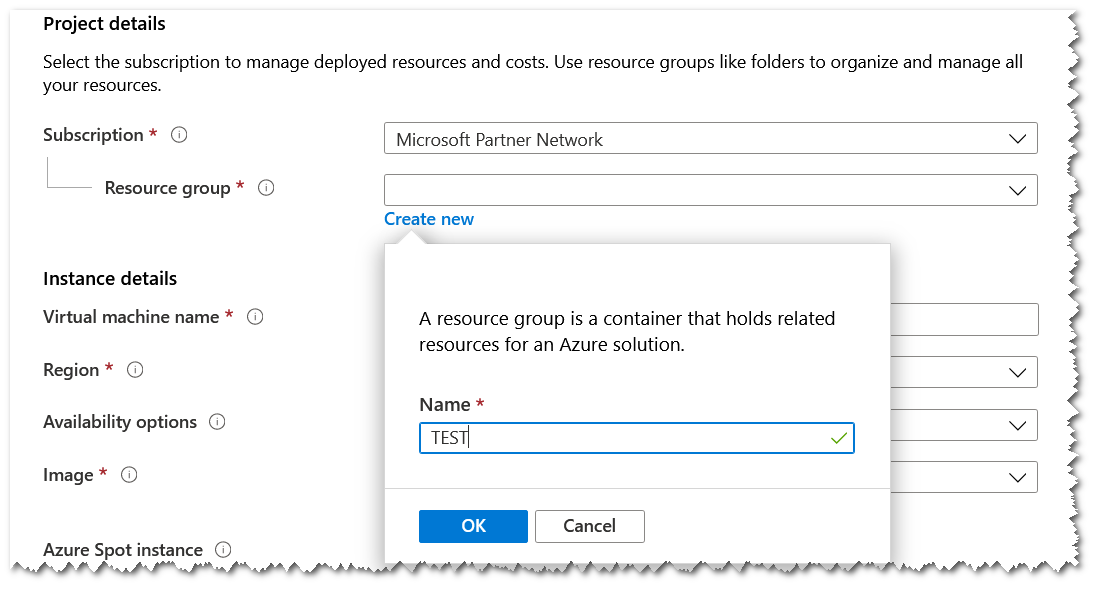
Далее заполняем первую форму, как показано на скриншоте ниже. Без паники. Тут всё очень просто и быстро. Почти все настройки мы оставим по умолчанию.
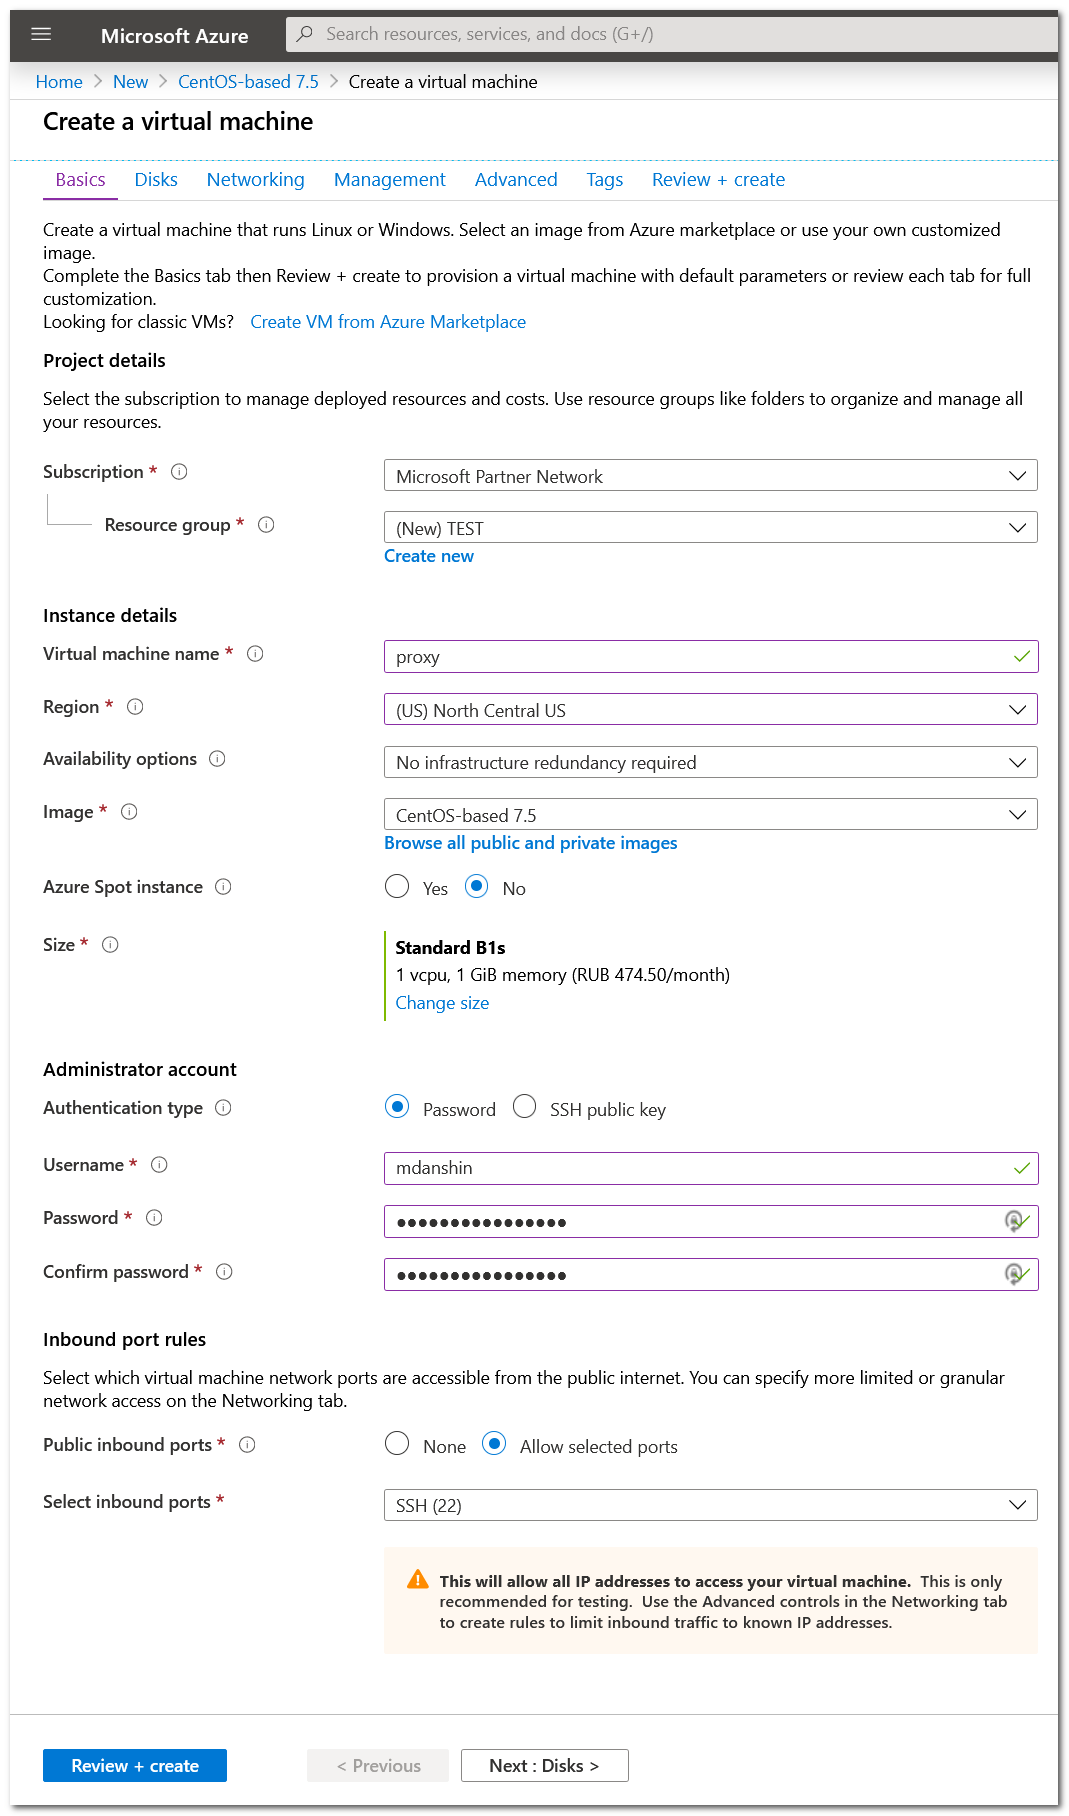
Первое, на что нужно обратить особое внимание, что в разделе Basic нам нужно создать ресурсную группу, в которой будут сгруппированы наши будущие ресурсы. Для этого нажимаем Create new и вводим любое имя группы.
Введите любое название вашей VM. Я назвал её proxy.
Один из важнейших моментов - выбор региона. Я выбрал (US) North Central US, чтобы иметь возможность выходить в Интернет с американских IP адресов. Но вы можете выбрать другой регион, например, Европу.
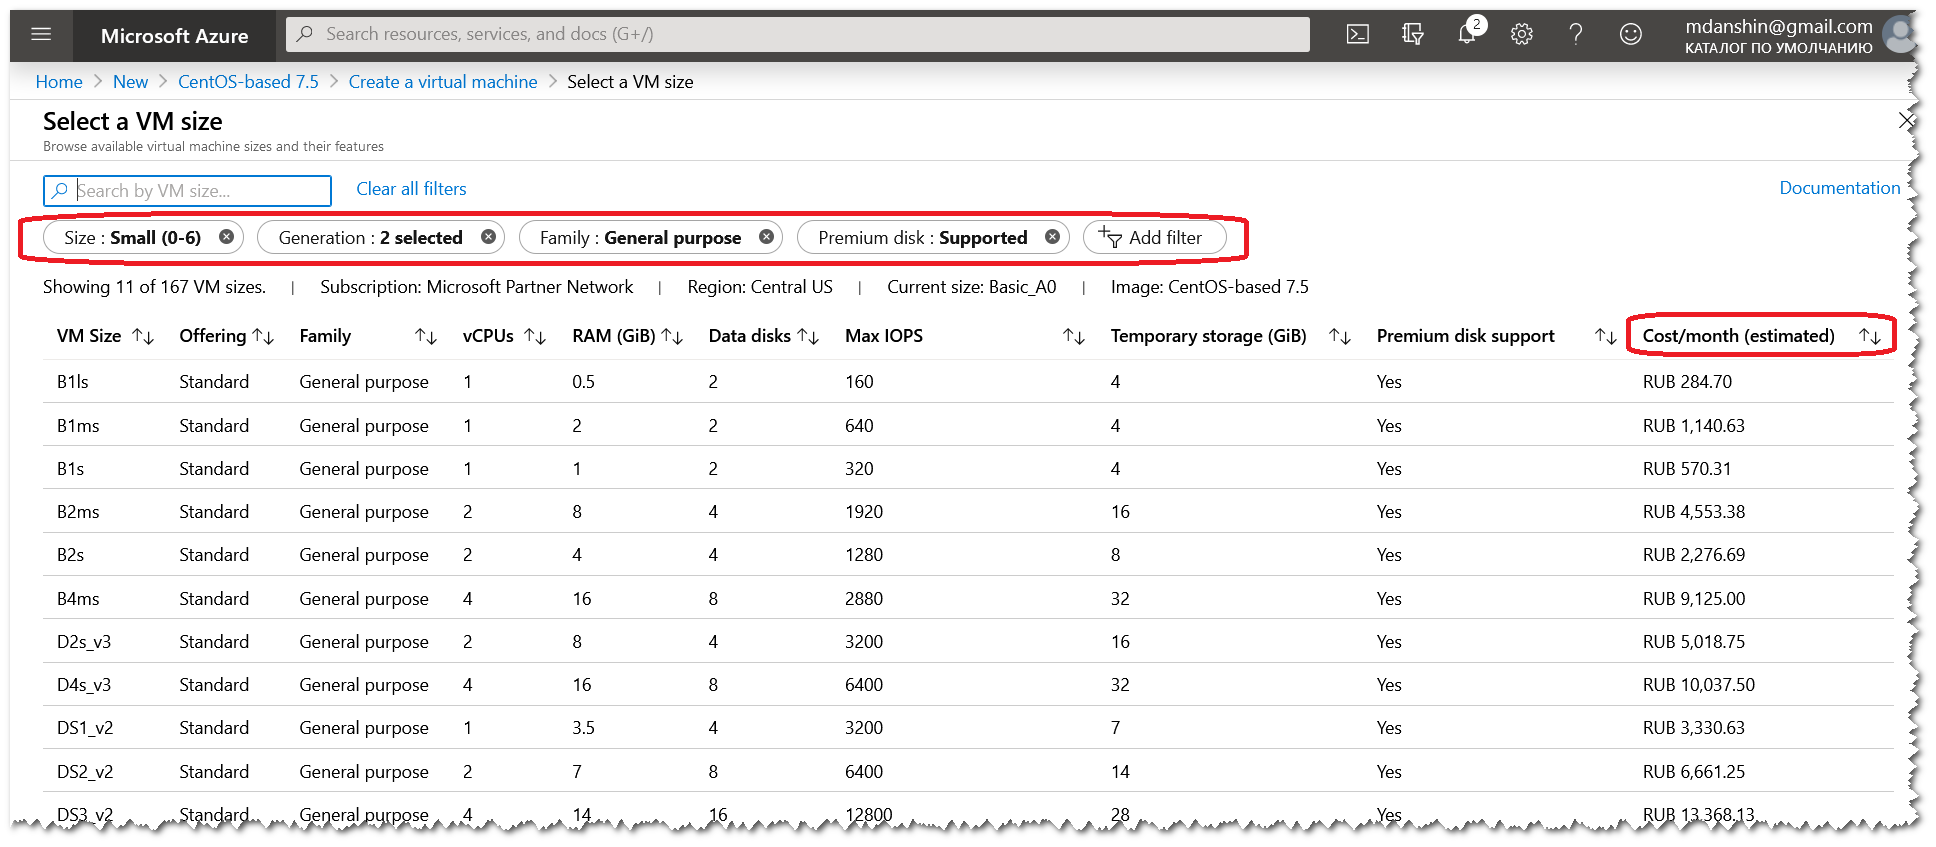
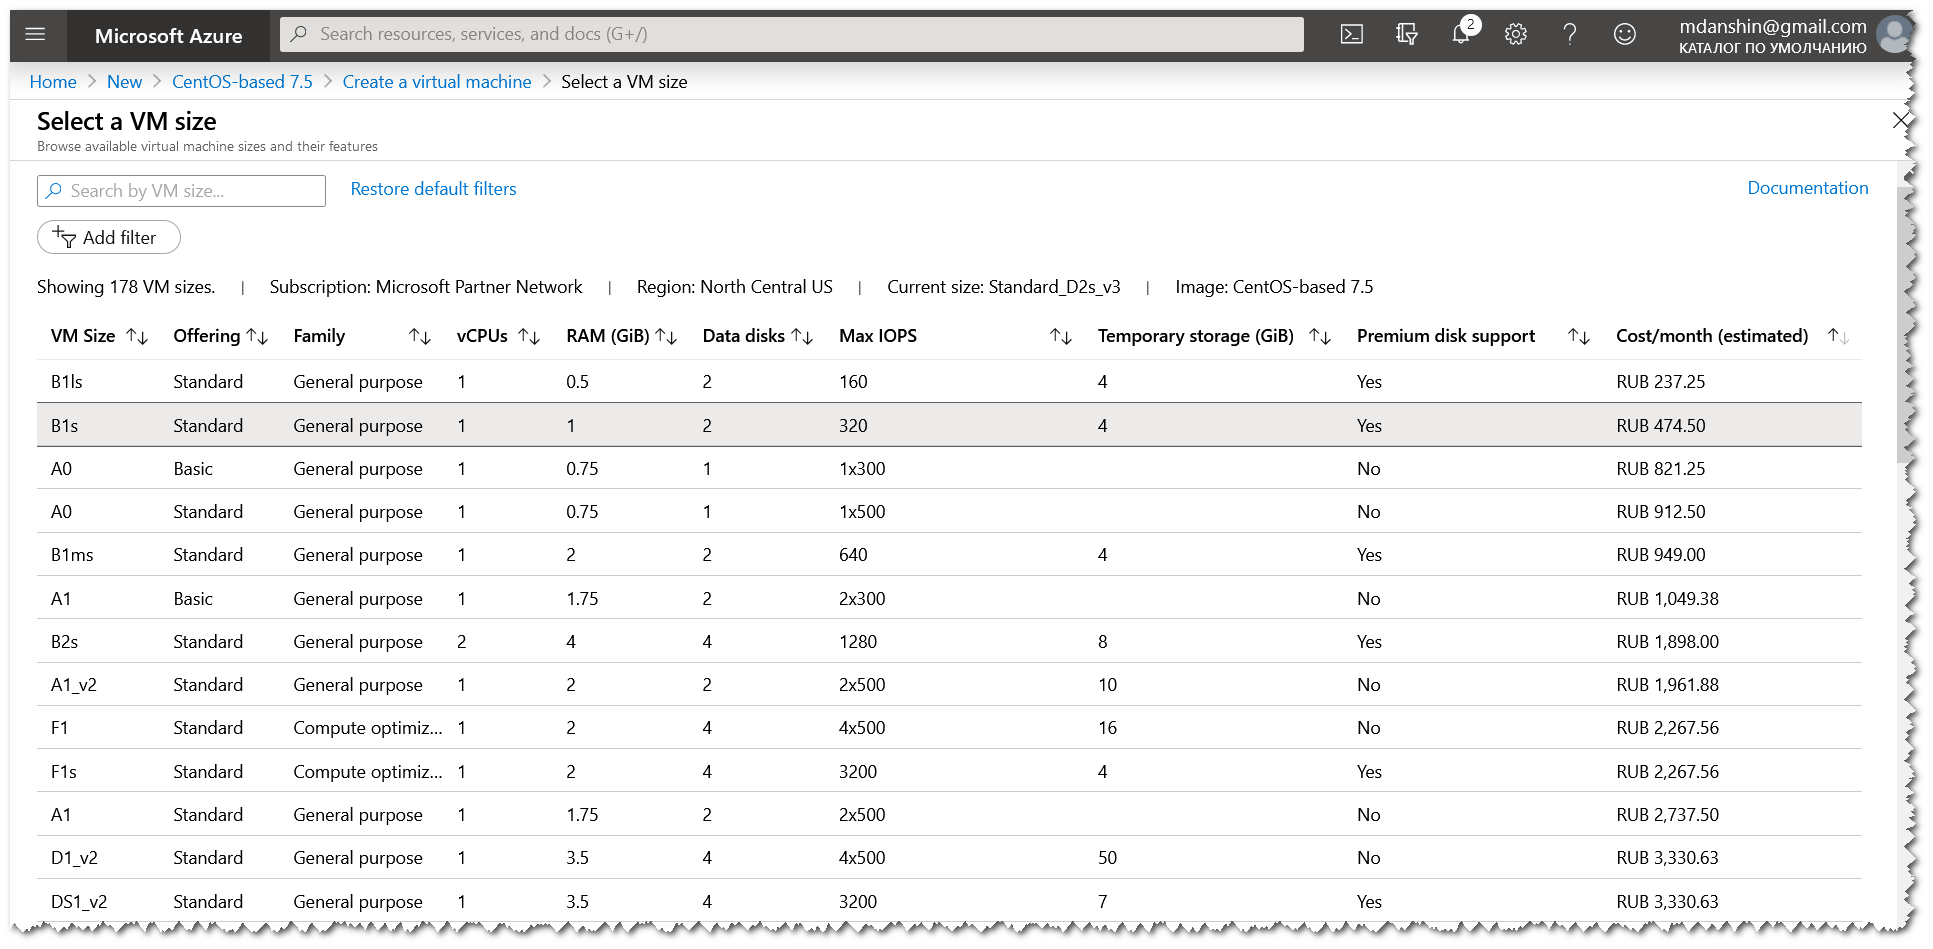
Ещё один важный момент - это выбрать размер VM. Для этого нажмите Change size. В открывшейся форме уберите все фильтры и отсортируйте записи по цене. Для себя я выбрал размер B1s.
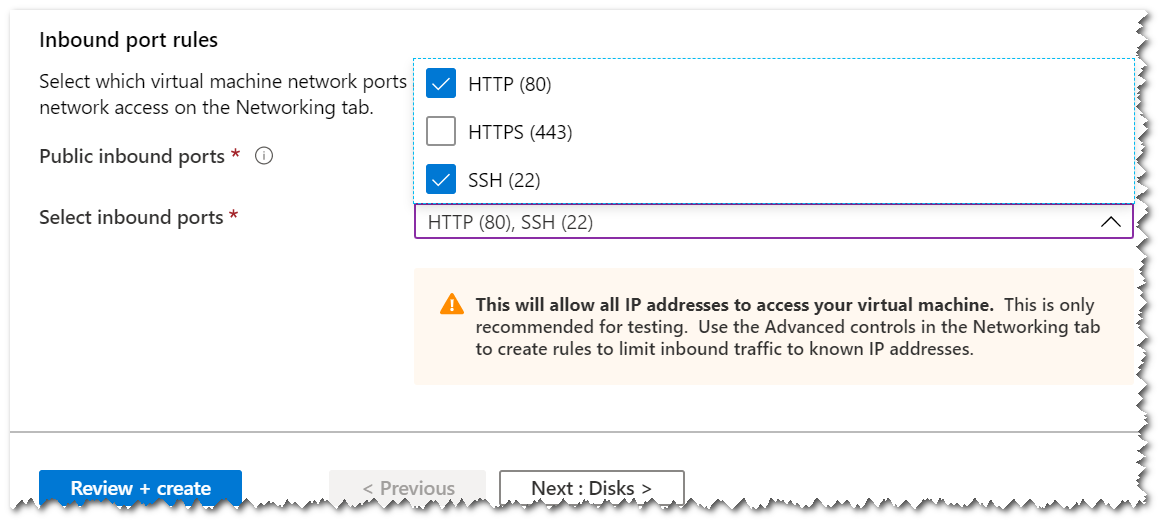
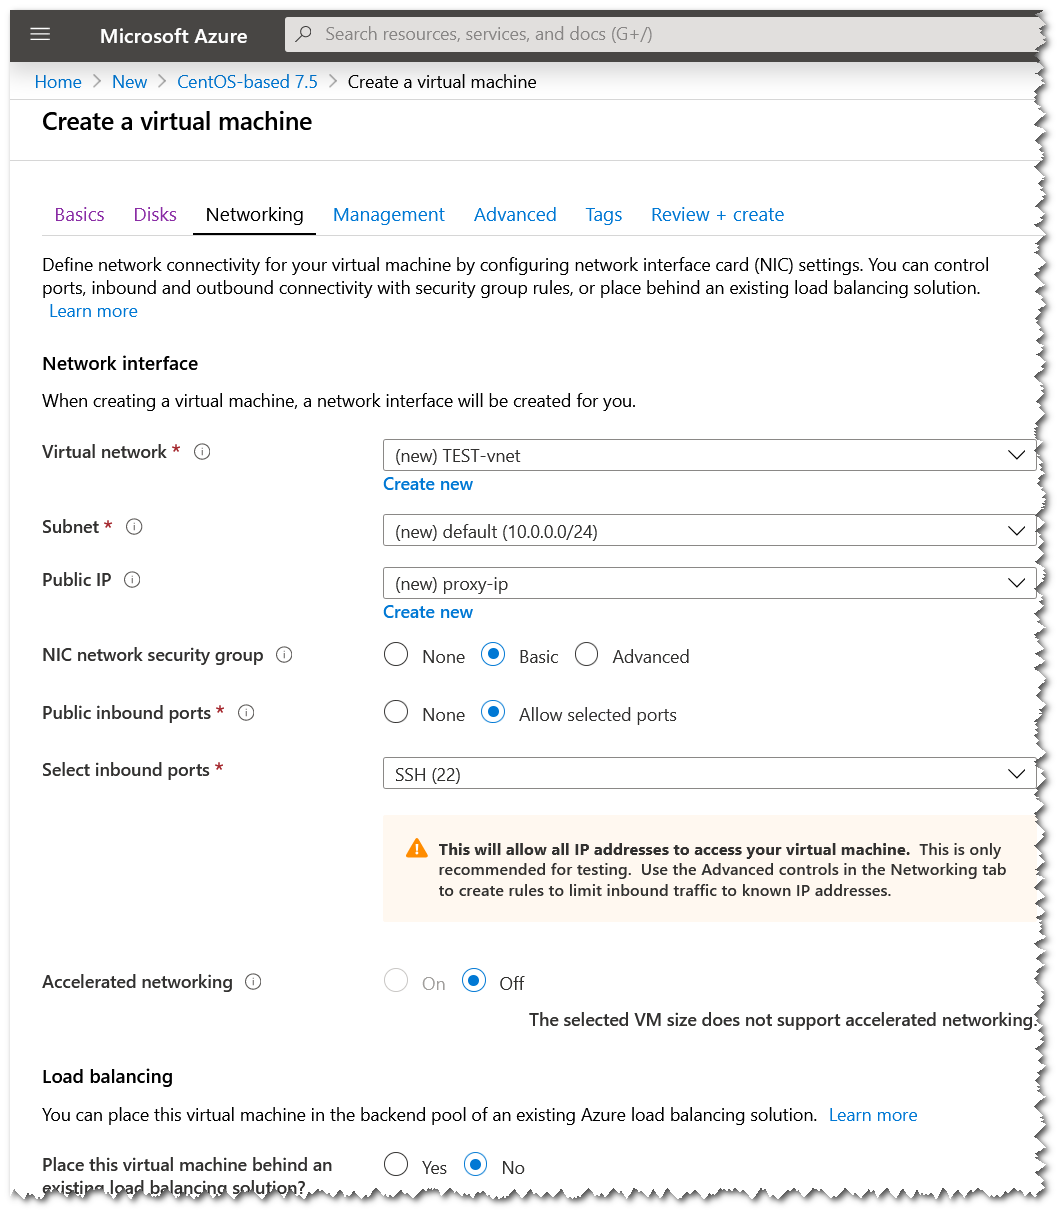
В разделе Inbound port rule, выберите выпадающий список Select inbound ports и отметьте порт 80
Закончите заполнение формы. Выберете тип аутентификации по паролю. Введите логин и пароль. И нажмите Next: Disk > для перехода на следующую форму.
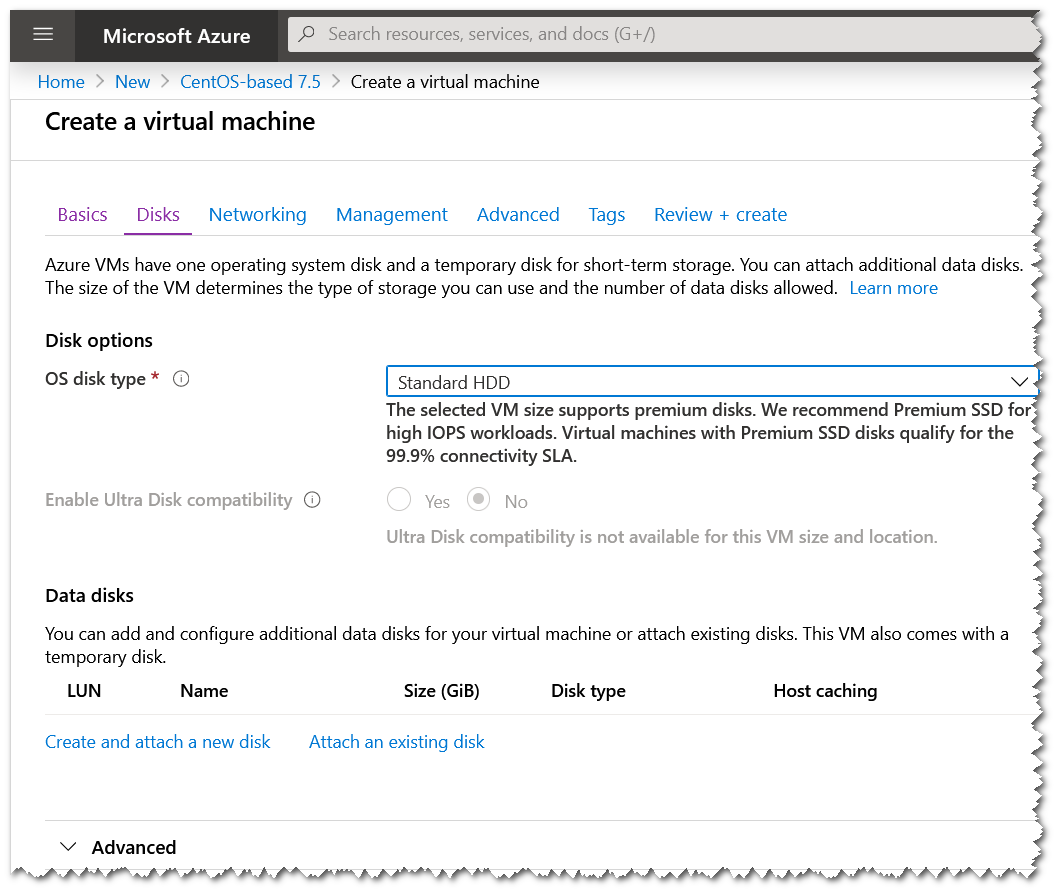
Здесь я выбрал Standard HDD, чтобы сэкономить деньги. Переходим на следующую форму, к сетевым настройкам.
Проверяем, оставляем всё по умолчанию и переходим дальше.
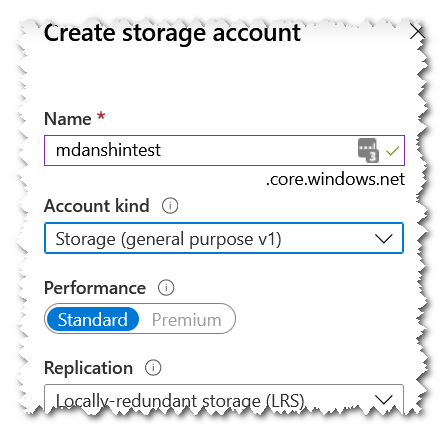
Если у Вас уже есть Diagnostics storage account, то он будет подставлен автоматически.
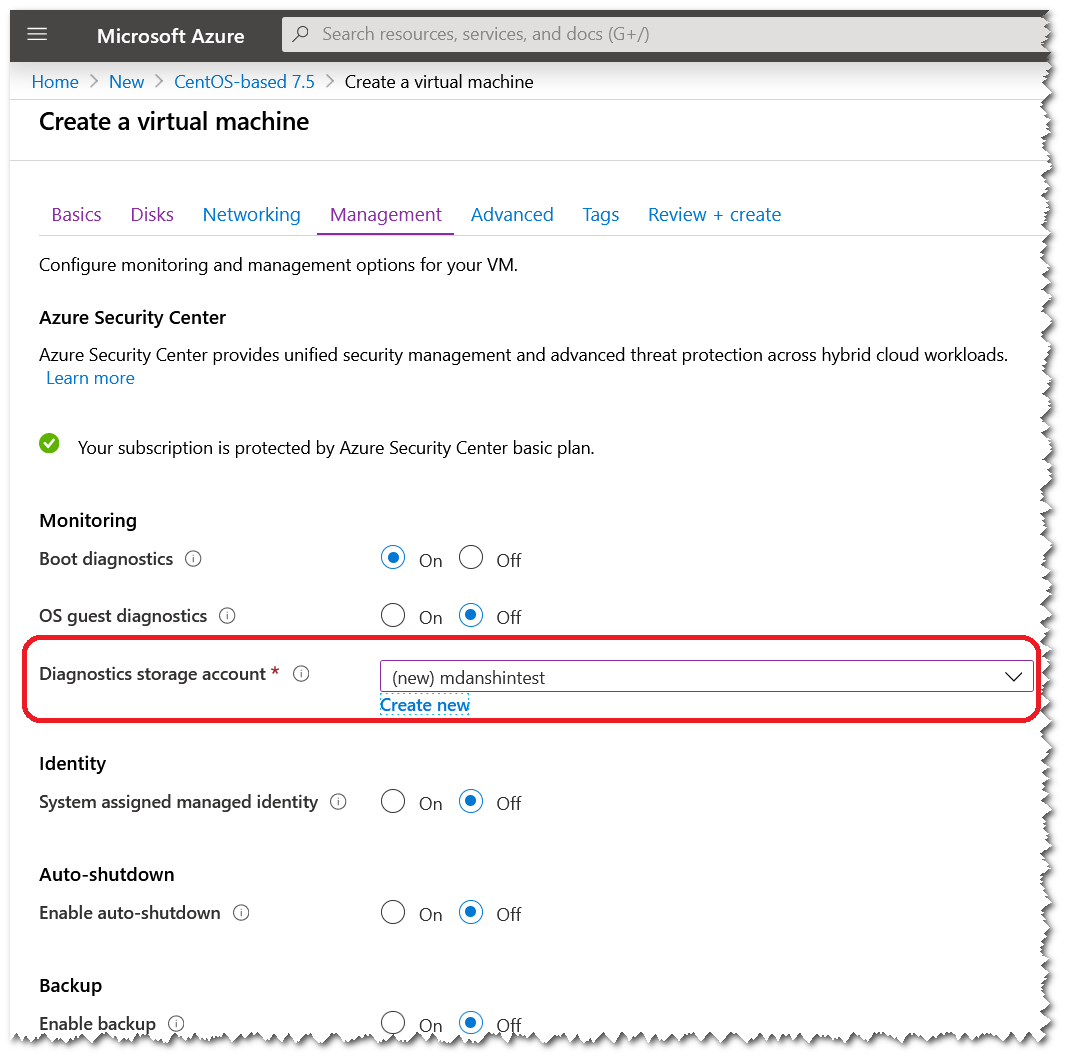
Если нет, то его нужно создать.
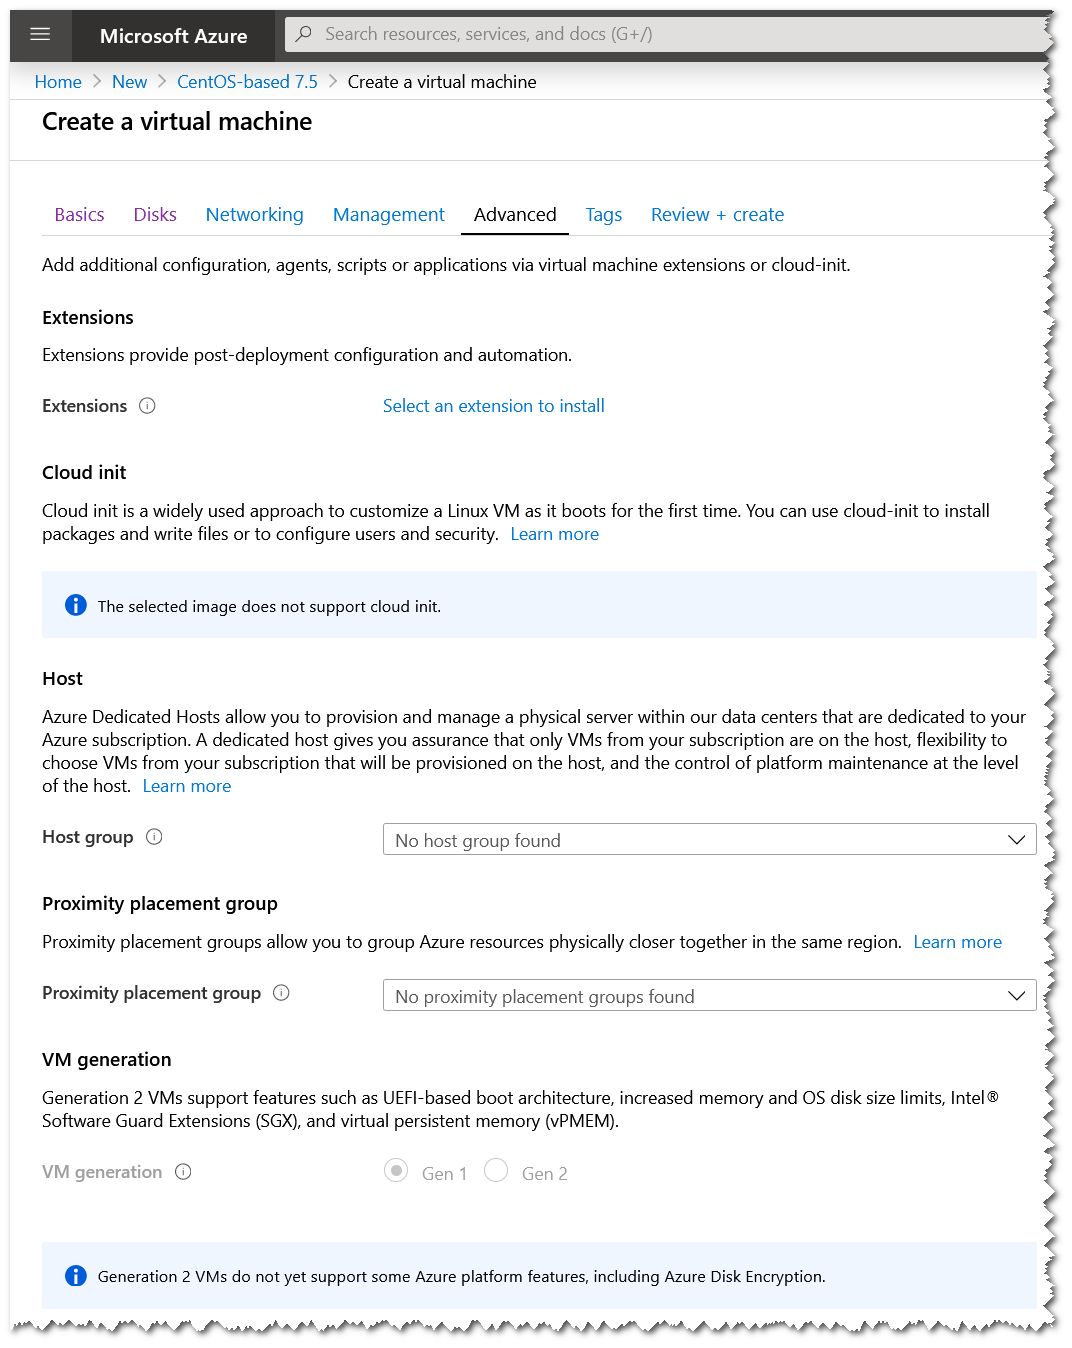
После этого можно смело нажимать Review + create или пролистать оставшиеся формы до конца, оставляя все значения по умолчанию.
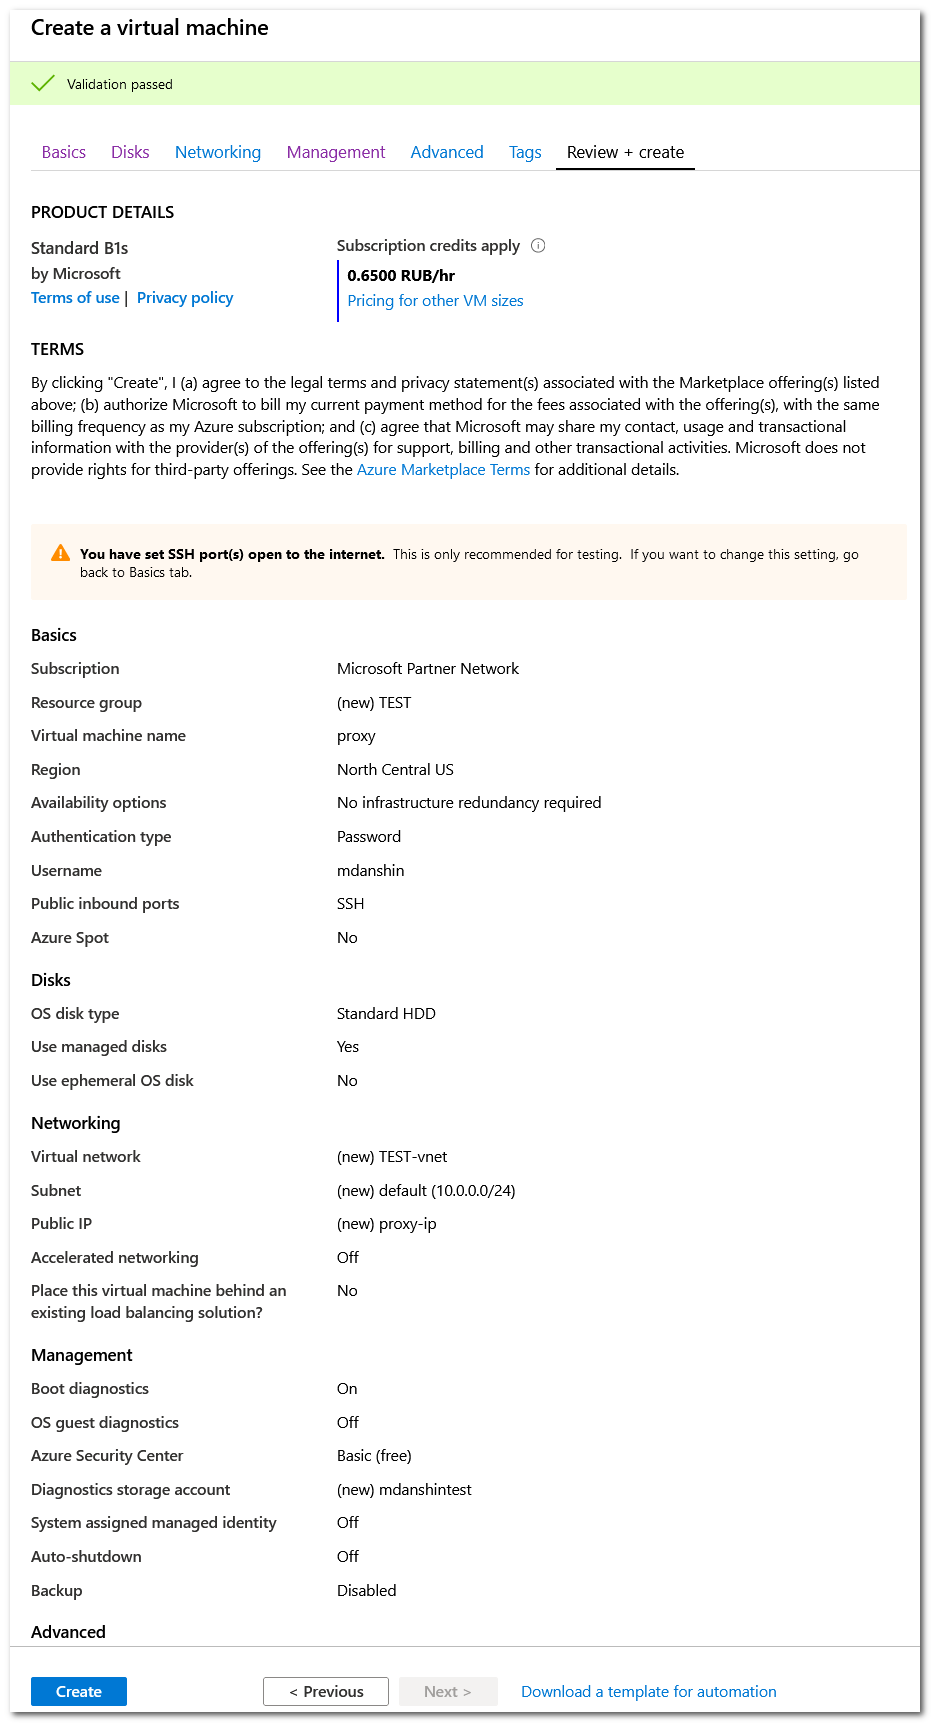
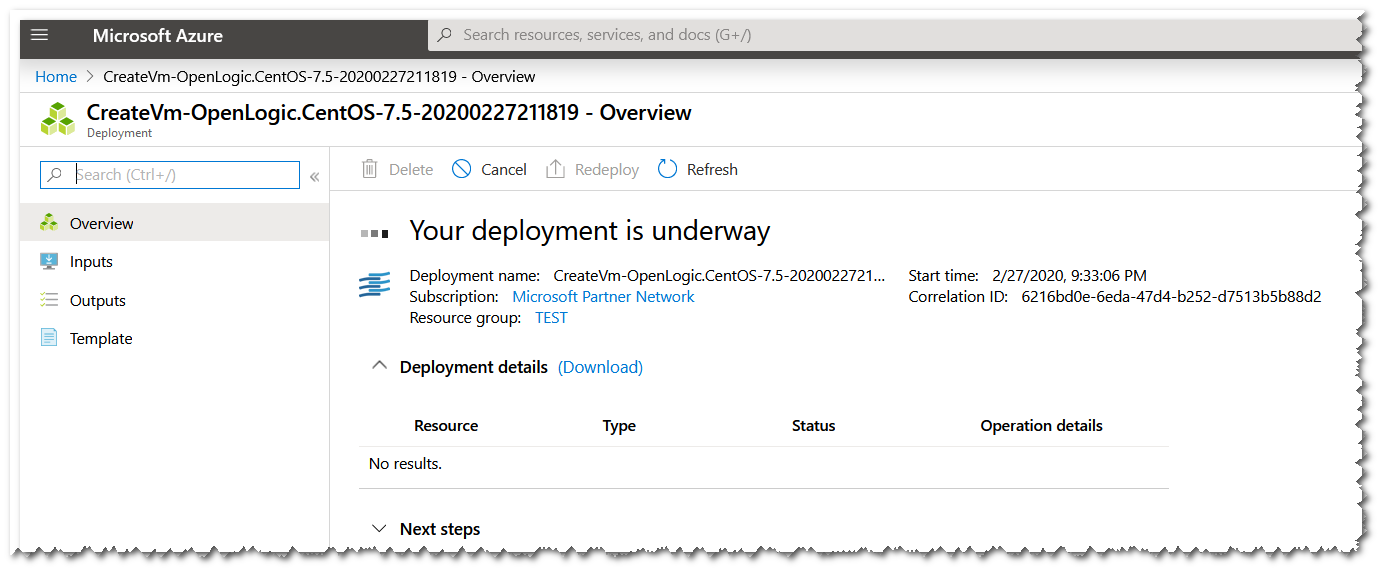
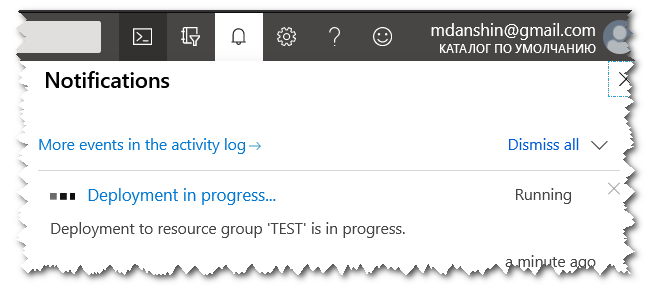
В конце нажимаем Create и запасаемся терпением.
Подключение к VM
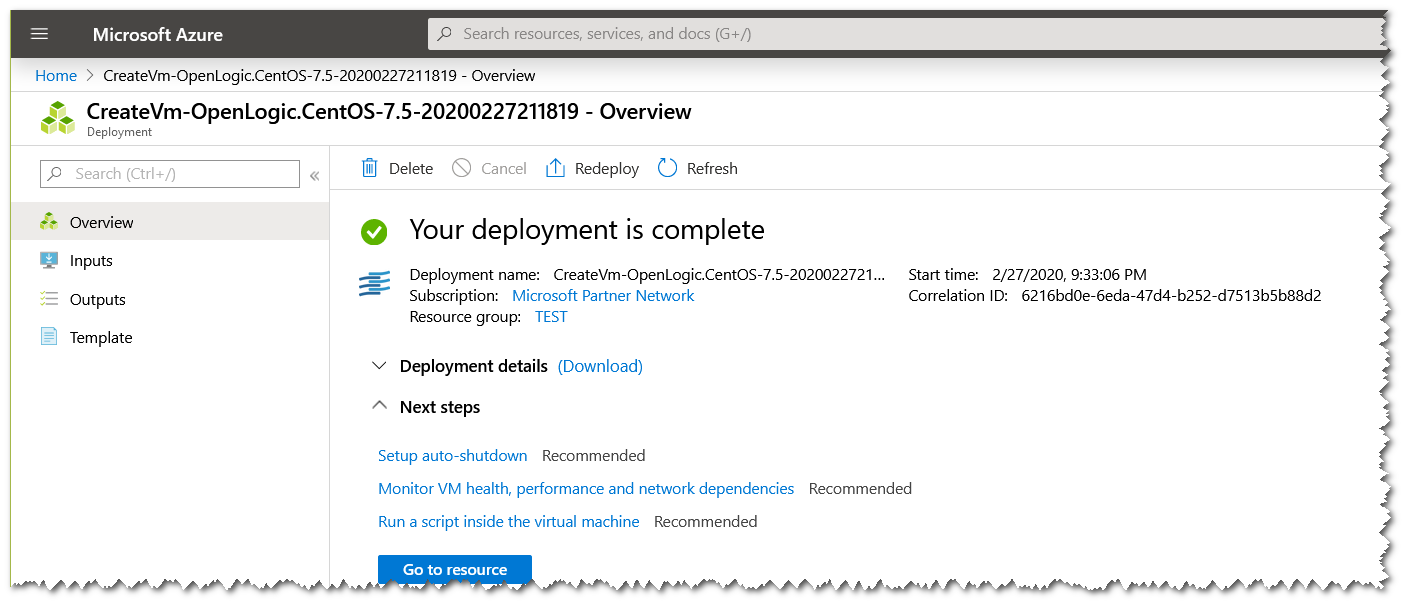
После того как создание ресурсов будет закончено, нажмите Go to resource.
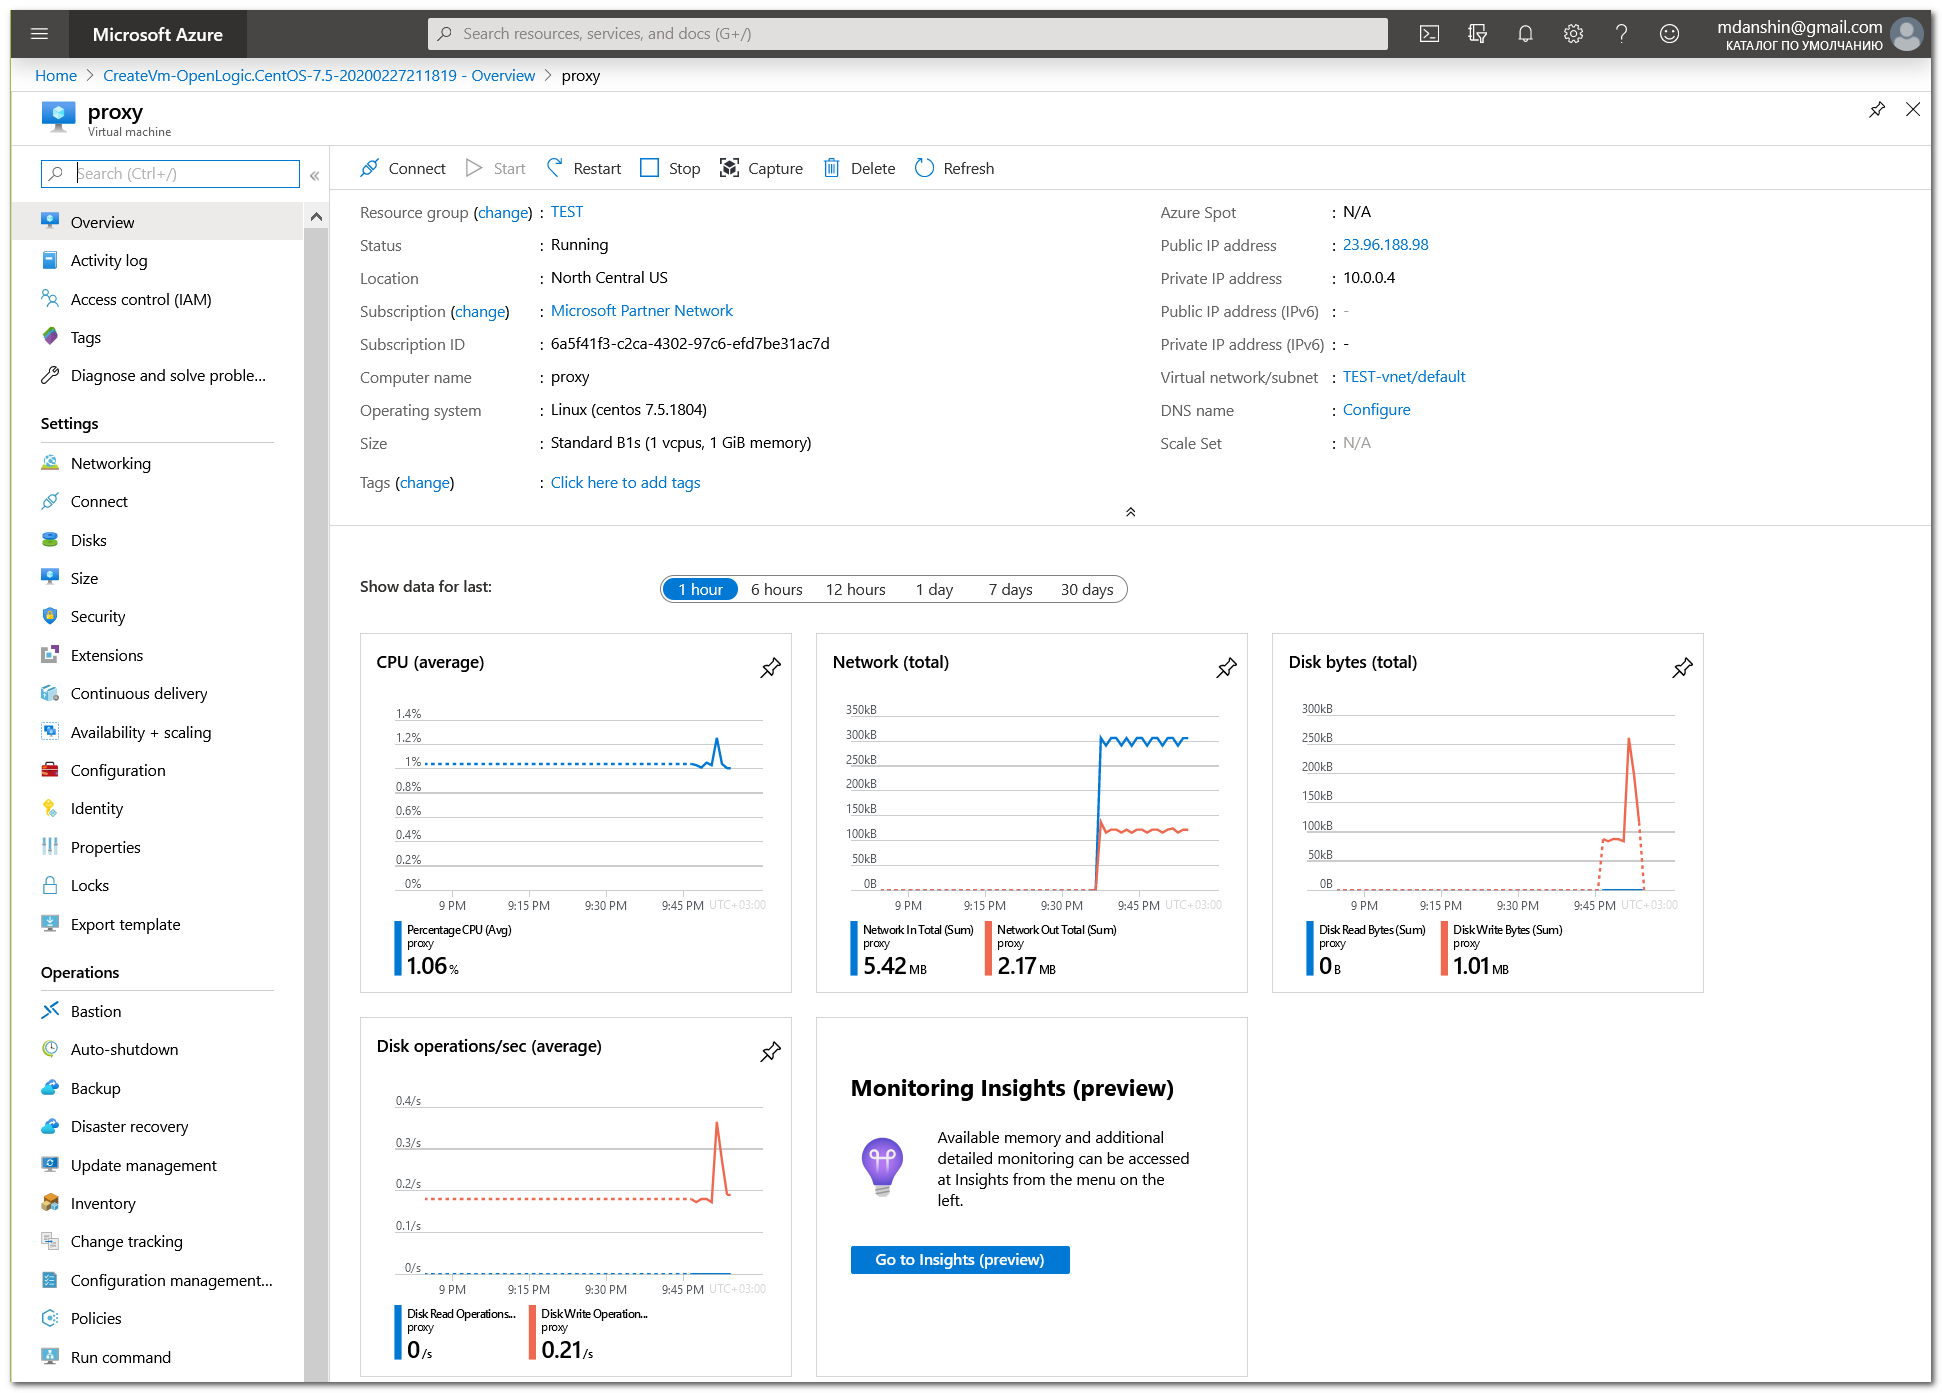
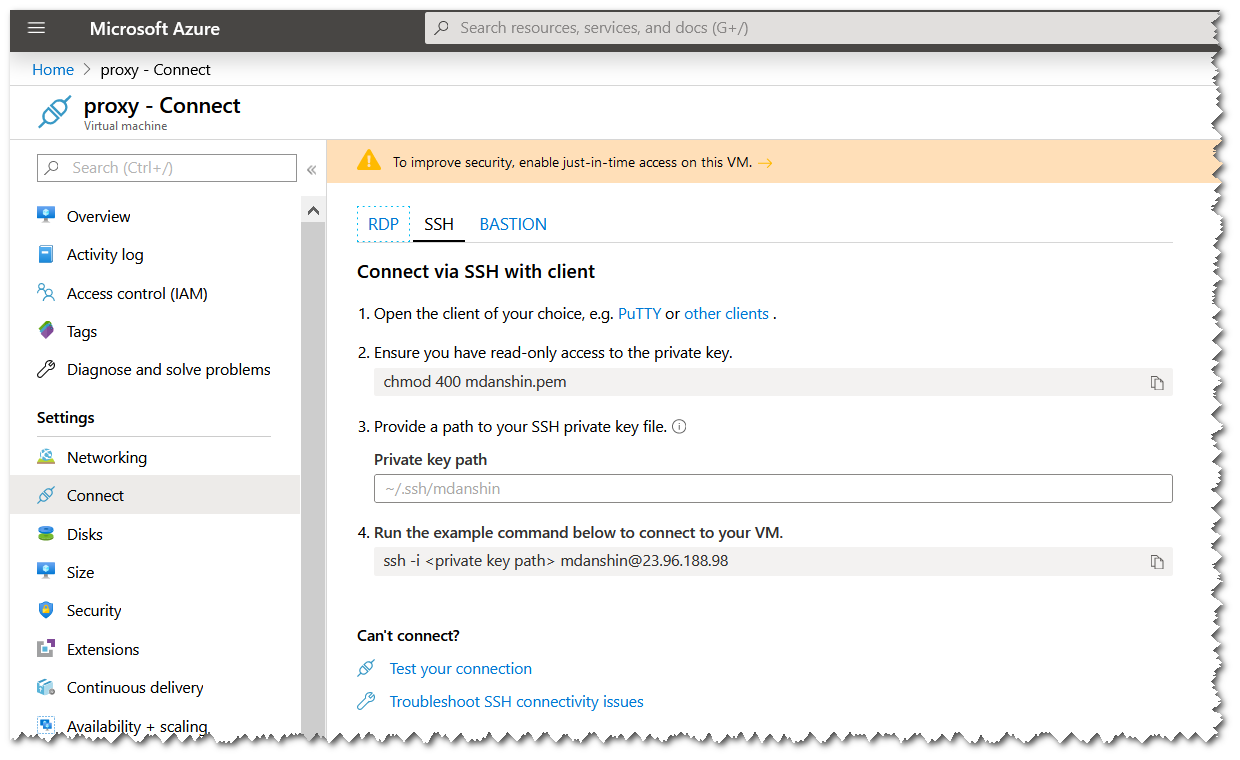
Вы попадете на экран обзора вашей VM
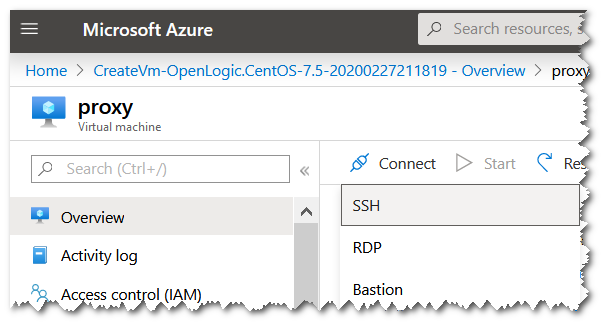
Нажмите Connect, выберите SSH, скопируйте IP адрес и запустите Powershell.
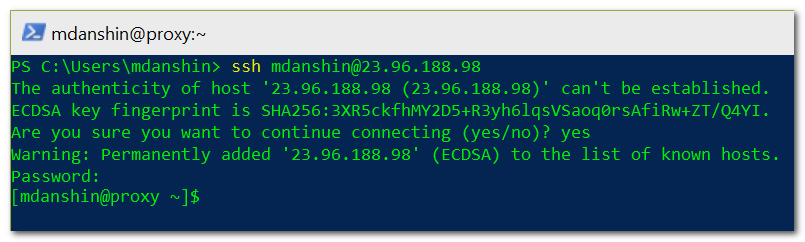
В Powershell введите следующую команду: ssh username@ip-address. Ответьте yes на вопрос о продолжении подключения, введите пароль. Вы успешно подключились к своей VM в Azure.
Обновление и установка Squid
Переходим в режим sudo выполнив команду sudo -i и последовательно выполняем нижеприведённые команды:
yum -y update

yum -y install epel-release
yum -y update
yum clean all

yum -y install squid httpd-tools

systemctl start squid

systemctl enable squid

systemctl status squid
Создаём нового пользователя для squid и задаём наш будущий пароль, который будем вводить при авторизации на proxy, т.к. мы делаем proxy с авторизацией, а не анонимный. Желательно, чтобы логин/пароль пользователя squid отличался от тех, что вы задали на этапе создания VM.
htdigest -c /etc/squid/user_squid proxy mdanshin

Делаем копию конфигурационного файла, чтобы иметь возможность восстановить его, если что-то пойдёт не так.
cp /etc/squid/squid.conf /etc/squid/squid.conf.bak
Открываем конфигурационный файл на редактирование.
vi /etc/squid/squid.conf
Проще всего удалить всё содержимое файла и вставить в него те строки, которые я привожу ниже. Но вы можете подойти к делу более основательно и самостоятельно отредактировать конфигурацию так, как Вам это нужно.
acl localhost src all

acl SSL_ports port 443
acl Safe_ports port 80          # http
acl Safe_ports port 21          # ftp
acl Safe_ports port 443         # https
acl Safe_ports port 70          # gopher
acl Safe_ports port 210         # wais
acl Safe_ports port 1025-65535  # unregistered ports
acl Safe_ports port 280         # http-mgmt
acl Safe_ports port 488         # gss-http
acl Safe_ports port 591         # filemaker
acl Safe_ports port 777         # multiling http

auth_param digest program /usr/lib64/squid/digest_file_auth -c /etc/squid/user_squid
auth_param digest children 5
auth_param digest realm proxy
acl users proxy_auth REQUIRED
http_access allow users
acl CONNECT method CONNECT

http_access allow localhost manager
http_access allow manager

http_access deny all

http_port 80

coredump_dir /var/spool/squid

refresh_pattern ^ftp:           1440    20%     10080
refresh_pattern ^gopher:        1440    0%      1440
refresh_pattern -i (/cgi-bin/|\?) 0     0%      0
refresh_pattern .               0       20%     4320
Перезапускаем squid, чтобы изменения вступили в силу.
systemctl restart squid
В заключении я бы рекомендовал полностью перезапустить VM командой reboot. Во-первых, это позволит загрузиться с нового ядра, которое было установлено во время обновления пакетов. А во-вторых, убедиться в том, что squid автоматически запускается при старте системы. Не помешает также отключить 22 порт, чтобы он не торачал наружу. Для этого используйте портал Azure, чтобы случайно не перекрыть самому себе доступ к VM.
In this article you’ll learn how to deploy and configure your own proxy server based on Squid in Microsoft Azure. We’ll create a CentOS virtual machine from scratch, install the required packages, configure and start Squid, and also set up authentication. If you already have a VM in Azure, you can jump straight to the Squid installation section.
Create a VM
Go to the Azure portal and create a new resource by clicking Create a resource.
Search for centos and choose Centos-based 7.5.
Click Create.
Fill in the form as shown in the screenshot. Don’t panic — it’s simple and fast. We’ll leave most settings as default.
The first important step is to create a resource group in the Basic section. Click Create new and enter any group name.
Enter any VM name. I named mine proxy.
Another important choice is the region. I used (US) North Central US so that the VM has US IP addresses, but you can choose a different region (for example, Europe).
Choose a VM size: click Change size, clear filters, sort by price, and pick a size. I used B1s.
In Inbound port rule, open the dropdown Select inbound ports and allow port 80.
Finish the form. Choose password authentication, set username/password, and click Next: Disk >.
For disks, I picked Standard HDD to save money. Then go to networking.
Check settings, keep defaults, and continue.
If you already have a Diagnostics storage account, it will be selected automatically.
If not — create one.
Finally click Review + create (or go through the remaining tabs leaving defaults).
Click Create and wait.
Connect to the VM
After deployment completes, click Go to resource.
You’ll see the VM overview page:
Click Connect, choose SSH, copy the IP address, and open PowerShell.
In PowerShell run: ssh username@ip-address. Answer yes to the prompt, enter the password. Now you’re connected to the VM.
Update and install Squid
Switch to sudo mode with sudo -i and run the following commands:
yum -y update

yum -y install epel-release
yum -y update
yum clean all

yum -y install squid httpd-tools

systemctl start squid

systemctl enable squid

systemctl status squid
Create a new Squid user and set the password you will use for proxy authentication (we want an authenticated proxy, not an anonymous one). It’s better to use a different username/password than the VM login credentials.
htdigest -c /etc/squid/user_squid proxy mdanshin
Back up the Squid config so you can restore it if something goes wrong:
cp /etc/squid/squid.conf /etc/squid/squid.conf.bak
Edit the config:
vi /etc/squid/squid.conf
The easiest way is to replace the file contents with the lines below. Alternatively, you can edit the configuration more carefully to match your needs.
acl localhost src all

acl SSL_ports port 443
acl Safe_ports port 80          # http
acl Safe_ports port 21          # ftp
acl Safe_ports port 443         # https
acl Safe_ports port 70          # gopher
acl Safe_ports port 210         # wais
acl Safe_ports port 1025-65535  # unregistered ports
acl Safe_ports port 280         # http-mgmt
acl Safe_ports port 488         # gss-http
acl Safe_ports port 591         # filemaker
acl Safe_ports port 777         # multiling http

auth_param digest program /usr/lib64/squid/digest_file_auth -c /etc/squid/user_squid
auth_param digest children 5
auth_param digest realm proxy
acl users proxy_auth REQUIRED
http_access allow users
acl CONNECT method CONNECT

http_access allow localhost manager
http_access allow manager

http_access deny all

http_port 80

coredump_dir /var/spool/squid

refresh_pattern ^ftp:           1440    20%     10080
refresh_pattern ^gopher:        1440    0%      1440
refresh_pattern -i (/cgi-bin/|\?) 0     0%      0
refresh_pattern .               0       20%     4320
Restart Squid so changes take effect:
systemctl restart squid
Finally, I recommend fully rebooting the VM with reboot. First, it lets you boot into the new kernel installed during updates. Second, it verifies that Squid starts automatically on boot.
It’s also a good idea to close port 22 so it doesn’t stay exposed. Use the Azure portal to do it so you don’t accidentally lock yourself out.